A Post of How to Post with R+knitr+Jekyll
Good tools are a must for good job. In this post, I want to talk about the new workflow I am following to write a post using R+knitr+Jekyll. This blog is both a tutorial and an example using the aforementioned tools to craft a blog post.
I would assume you are comfortable with drafting in R markdown with knitr. With the help of Jekyll, you can turn your R markdown file into blog posts on GitHub. Here is how I did it.
###Take a Look at Your Github Page
Are you aware that you get one site per GitHub account and organization? Check this out. The GitHub page is a perfect place to host your personal blogs. The address of your GitHub page is yourgithubusername.github.io.
###Set Up Your Blog using Jekyll
Thanks to the wonderful tool Jekyll Now, I set up my own GitHub blog in less than one minute. Basically, you just need to fork this repo, then rename the repository to yourgithubusername.github.io. And your github blog should be up running! You can start customizing and view your site by modifying the files in the repo. Check out the detailed tutorials here
###Start Writing A Blog
You can start writing your blog in R studio using knitr just as usual. For example, I just generated some random normal numbers
set.seed(1)
x<-rnorm(10)
There are 10 numbers here.
###Problems with figure path
If you check the markdown file generated by knitr, you will notice that the plots are stored in figure folder in your working directory. However, Jekyll has no idea where your working directory is. My current solution is to create a folder called figure under the root of the repo and use the following figure path before plotting.
library(knitr)
opts_chunk$set(fig.path="../images/")
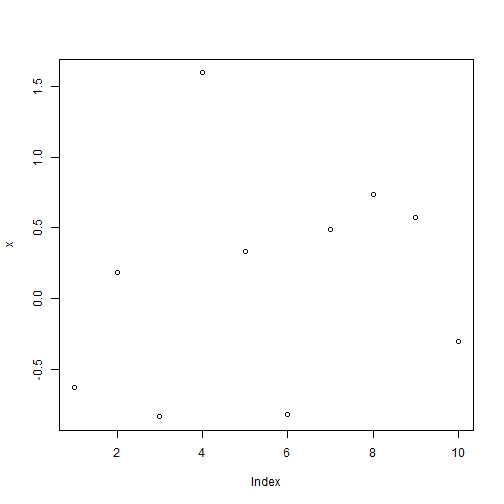
For example, I can draw my plots:
plot(x)
 I use the following code to generate a markdown file from the Rmarkdown file I am working on:
library(knitr)
knit2html("2015-5-25-HowToPost.Rmd")
After copying the output file “2015-5-25-HowToPost.md” to _posts folder in the repo, I copy everything inside figure folder on my computer to images folder in the repo.
For the external figures, you can either put them inside images folder, or refer to their URLs. (e.g. you can put the image in public folder of your DropBox and copy its public link in the right click menu).
 .
.
Now, the post is ready to view. Not hard at all, right?
###P.S.
I forgot to mention that Jekyll also supports html output. To create a html post, just put the html file into the _posts folder and name it according to the following format:
YEAR-MONTH-DAY-title.html
It is nice and easy.